top of page
AllHurricane
Tracker
Find Services
Legal Assistance
Emergency Services
Contractors
Preparation
Before Disaster
During Disaster
After Disaster
Videos
Blog
More
Use tab to navigate through the menu items.
Play Video
Play Video
03:39
How To Board Up Windows with Plywood | HURRICANE PREP
Preventing damage to windows from a hurricane is possible with this hurricane window protection video from Lowe's. Learn how to board up windows with plywood with this comprehensive how to video. You can choose from tension clips or screws for installing boards on your windows. Tension clips secure ½" plywood to recessed window casings without the use of nails. This is effective for wood, brick and stucco surfaces, but not vinyl siding. You'll need to measure inside of the window casing from top to bottom and subtracting ¼", then from side to side and subtracting ¼". Repeat this for all of your windows to determine how much plywood you need or bring it to your local Lowe's and an associate will calculate the amount of plywood you need. When you have your plywood, you'll need to cut it according to your measurements. Use a water sealer on the plywood if you are not using a rot resistant wood. It is a good idea to label each piece of wood by room for future use. Attach the tension clips facing towards you with a few taps of a hammer. Push the plywood into the window casing and ensure the clips are gripping the casing. Attaching with screws is another method, with which you can use concrete screws, anchor screw with wing nuts or lag screws with anchors. This method works well on doors and vents as well. You'll need to measure the width and height of the casing and add 10" to each dimension (5" to the height if you have a sill). For concrete walls, mark holes in the corners of the plywood at least 1 ½" from the edges, then mark every 12" around the entire board. If you have aluminum, vinyl or wood lapse siding, use a stud finder to find the position of the stud, and mark the position accordingly on the board. Drill holes in the wood at all of your marks, then hold it in place over the window and drill through the holes into your siding at the top corners. Secure these corners with screws and repeat for the rest of the holes. Find everything you need for hurricane preparedness at http://www.lowes.com/cd_Hurricane+Season+is+Here_848001943_. Subscribe to Lowe's YouTube: http://www.youtube.com/subscription_center?add_user=lowes Or head to our channel: http://www.youtube.com/Lowes.
Play Video
Play Video
02:33
How to Tarp a Roof | HURRICANE PREP
Learn how to tarp a roof to limit the damage that a leaky roof may cause after a hurricane. This video from Lowe's will explain how to find a roof leak and how to fix a roof leak temporarily with a roof tarp after a heavy storm. After a large storm, hiring a professional to fix a roof leak may take some time due to high demand. In this time period, installing a tarp to your roof is essential to prevent further water damage. First, clean the debris from your roof. Locate the leaking area by looking for broken or missing shingles or panels, and check the underside of the sheathing in the attic for water stains. Then, unroll the tarp over the damaged area, allowing 4 feet to overhang the peak. Use cap nails to attach the tarp to 2x4's. Wrap the tarp around the board and anchor the tarp and 2x4 to the roof with screws. Next, attach 2x4s to the edges of the tarp on the peak side. On the other end, nail the tarp to a 2x4, wrap the tarp around the board, and screw it to the underside. Subscribe to Lowe's YouTube: http://www.youtube.com/subscription_center?add_user=lowes Or head to our channel: http://www.youtube.com/Lowes You can call Lowe's for a professional roof installation at 1-877-GO LOWES.
Play Video
Play Video
03:59
Installing a Garage Door Brace | HURRICANE PREP
Learn how to install a garage door brace before a hurricane hits to keep your door in place. Installing the garage door brace is easy if you follow these step by step instructions from Lowe's experts. Release the opener trolley and detach the arm. Attach the U-bolt to the top brace. Slide the bolts into the channels. Attach the floor bracket to the bottom brace. Slide the bolts into the channels. Connect the two braces. Then attach the header bracket and deflection brackets. Insert the floor bracket anchors and attach the assembled brace. After the storm has passed, you can remove the garage door brace by loosening the nuts and bolts. Find all the supplies you will need to prepare for a hurricane, including garage door braces at http://www.Lowes.com/Hurricane Subscribe to Lowe's YouTube: http://www.youtube.com/subscription_center?add_user=lowes Or head to our channel: http://www.youtube.com/Lowes
Play Video
Play Video
04:53
Using a Chainsaw | HURRICANE PREP
Learn to operate a chain saw safely and effectively and without getting hurt with these tips from Lowe's experts. Wear protective clothing and make sure your chainsaw chain is sharp and the chain saw is well tuned. To start a cold engine, place the chainsaw on a flat surface on the ground. Push the chain brake for until in engages. Pull the start choke control to the on position. Push the decompression valve. Press the purge bulb about 6 times. Hold the front handle with your left hand, put your right foot on the rear handle of the chainsaw. Put the starting handle with your right hand until the saw ignites. Push the choke control. Squeeze the throttle quickly to disengage the high idle. To stop the saw, turn off the ignition switch. To make a cut, hold the front handle with your left hand and grab the rear handle with your right. Pull back the chain brake and squeeze the throttle. The chainsaw cuts best at full throttle. Try to avoid cutting with the saw tip to avoid kickback. Felling trees before a storm can help prevent hurricane damage. Plan the direction of the fall and your escape route. Cut a notch in your tree with the chainsaw. Make a horizontal cut along the back side to fell the tree. Limb and buck your felled tree. Limb uprooted trees at the base and cut up the tree. For logs on the ground, cut most of the way and turn the log so the bladed doesn't contact the ground. For logs supported on one end, cut 1/3 of the way up from the bottom and cut the rest from the top. For logs supported on both ends, cut part of the way from the top, then cut the rest from the bottom up. Find all the supplies you will need to prepare yourself for a hurricane at http://www.Lowes.com/Hurricane Subscribe to Lowe's YouTube: http://www.youtube.com/subscription_center?add_user=lowes Or head to our channel: http://www.youtube.com/Lowes
Play Video
Play Video
03:13
Using an Emergency Generator | HURRICANE PREP
Learn more about emergency portable generators and what to look for when shopping for a generator with these helpful tips from Lowe's experts. You will want to power your refrigerator, pumps, a few lights and a radio or tv. Look for rated wattage and surge wattage in your items. Rated wattage is what's required for running the item. Surge wattage is what's required to start the item. Add the highest surge wattage to the sum of all of the rated wattages. This is how many watts your portable generator will need to supply. For safe operation of your portable generator, do not overload your generator. Use the appropriate extension cords. Run your generator outside on a level surface, 5 feet from your home. Check for gas leaks before running a generator and appliances. Don't plug your generator into a wall outlet. To start your generator, unplug any cords, turn the fuel on, turn on the choke, turn on the engine, and pull the recoil cord. When the engine starts, switch the choke to run. Start with the appliance that uses the most power. When plugging in items to the generator, alternate circuits. To find emergency portable generators and more supplies to prepare you for a hurricane, visit http://www.Lowes.com/Hurricane Subscribe to Lowe's YouTube: http://www.youtube.com/subscription_center?add_user=lowes Or head to our channel: http://www.youtube.com/Lowes
Play Video
Play Video
02:57
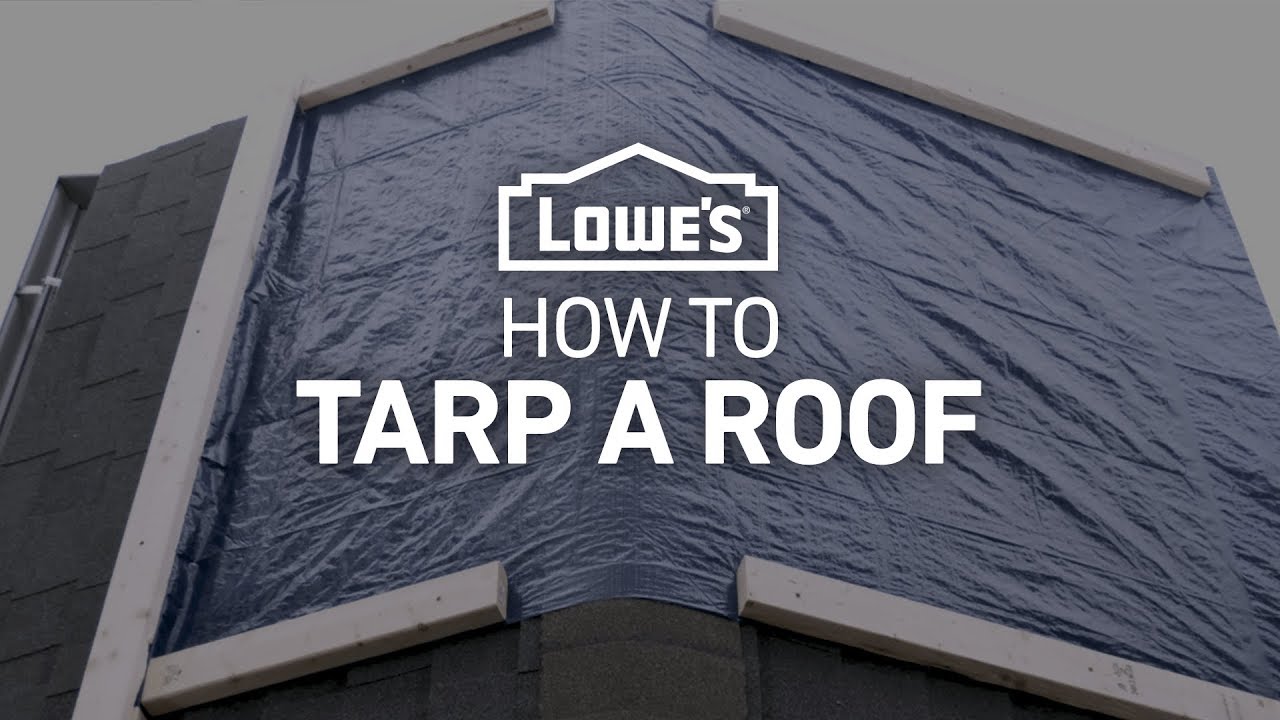
How To Tarp A Roof | Severe Weather Guide
Learn how to tarp your roof and protect your house before or after a storm. Shop the tools and materials used in this video: Tarp - https://low.es/2Ha1KmN Craftsman Impact Driver - https://low.es/2HbeM3z Craftsman Tape Measure - https://low.es/2Hd61pE Lumber - https://low.es/2H8m2wS Plywood - https://low.es/2Hd6po6 Estwing Hammer - https://low.es/2H8eaM4 Cap Nails - https://low.es/2HaJcmd Steps: 00:00 - Introduction 00:30 - Safety Precautions 00:49 - Clean Debris Off Roof 01:00 - How To Cover a Large Hole 01:10 - Determine Tarp Size 01:20 - How To Cover a Damaged Roof 02:15 - Reinforce Tarp Subscribe to Lowe's YouTube: http://bit.ly/1blLmvD or head to our channel: http://www.youtube.com/Lowes For more ideas to improve your home, check out Lowe's How-To Library or our other social media channels: Lowe's - http://www.lowes.com/how-to-library Facebook - http://www.facebook.com/lowes Twitter - http://www.twitter.com/lowes Pinterest - http://www.pinterest.com/lowes Instagram - http://www.instagram.com/loweshomeimprovement
bottom of page